Valentines Treats Chocolate Covered Oreos
Highlighted under: Cozy Favorites
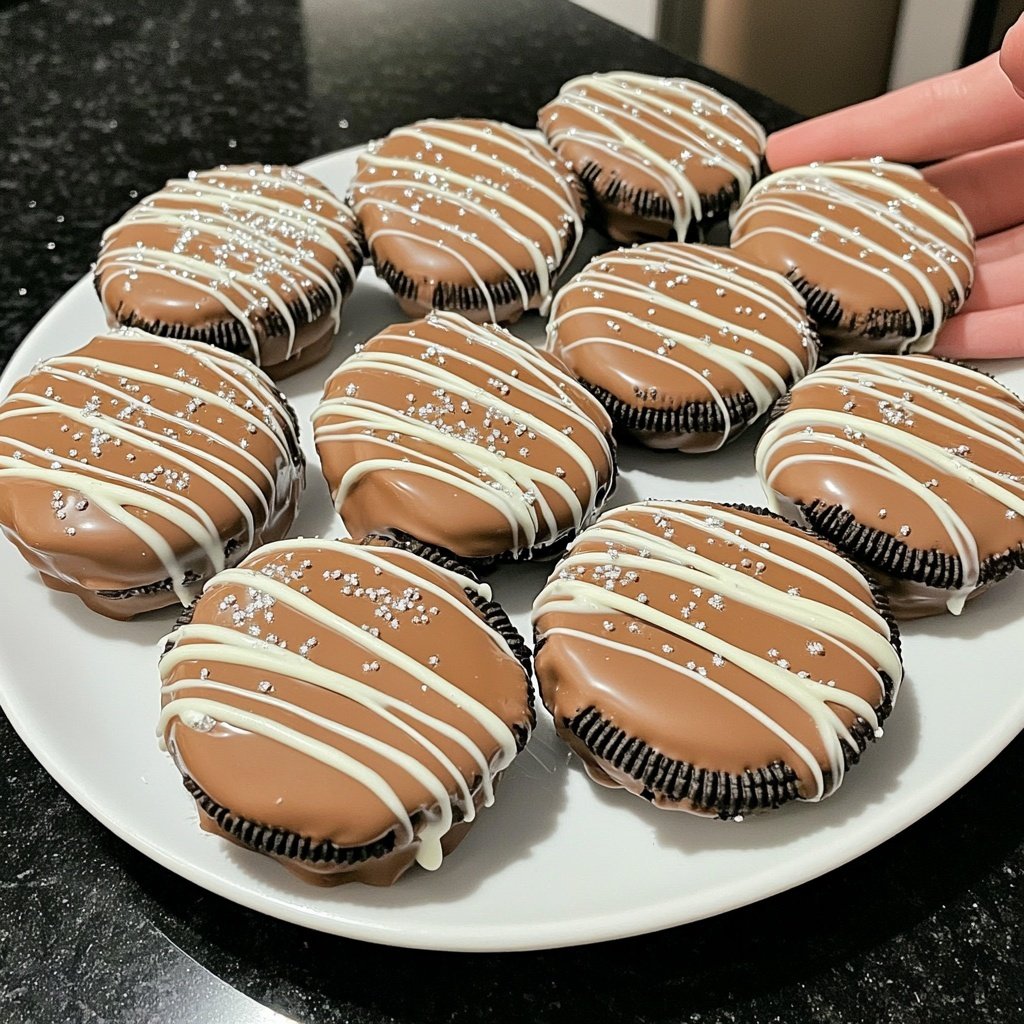
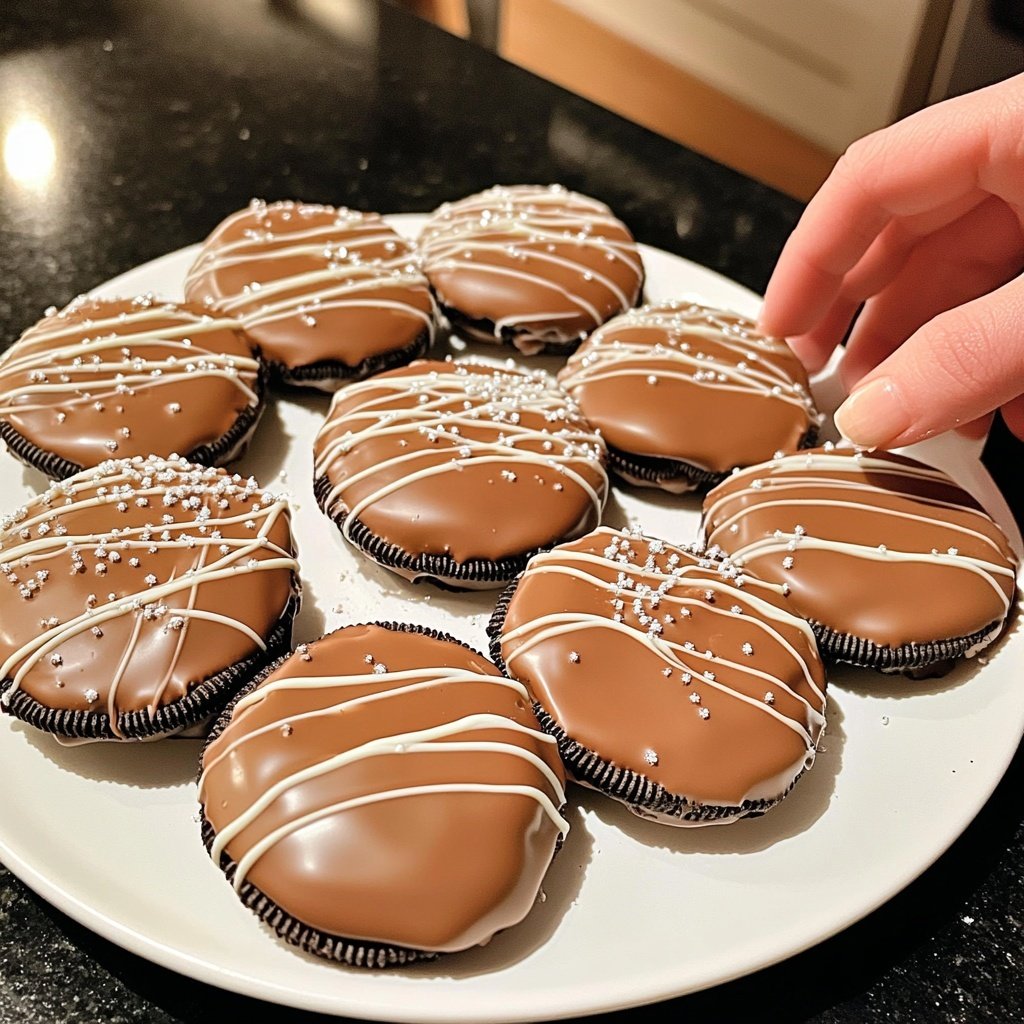
I love making these homemade chocolate-covered Oreos, especially for Valentine's Day. They're not just a treat; they're a delightful expression of love that’s easy to prepare. The combination of crunchy Oreos and smooth chocolate creates a satisfying treat that melts in your mouth. Plus, I love how you can customize them with different sprinkles or flavors. It’s a sweet way to show my affection for friends and family. This dessert is perfect for parties or a sweet surprise for someone special!
When I first tried making these chocolate-covered Oreos, I used to struggle with the melting chocolate. However, I discovered that using a double boiler gives the chocolate an incredibly smooth texture without any clumps. This method has now become my go-to for any chocolate dipping. I also enjoy experimenting with flavors, like adding peppermint extract, which adds a refreshing twist the classic recipe.
Last Valentine's Day, I surprised my loved ones by decorating the cookies with pink and red sprinkles, and they were a hit! It’s amazing how something so simple can bring so much joy. For the best results, let the chocolate-covered Oreos cool completely on wax paper to prevent sticking. Trust me; these treats will quickly become a favorite!
Why You Will Love This Recipe
- Rich chocolate flavor paired with crunchy Oreos
- Customizable toppings to suit any occasion
- Perfect for sharing with loved ones or keeping all to yourself
Understanding the Chocolate Coating
When selecting chocolate for your covered Oreos, the choice between semi-sweet and dark chocolate is crucial for achieving the right flavor. Semi-sweet chocolate offers a balanced sweetness that complements the Oreos without overwhelming them, while dark chocolate provides a richer, more intense flavor. If you're aiming for a sweeter treat, stick with semi-sweet; for a more sophisticated taste, opt for dark chocolate. Additionally, adding a tablespoon of coconut oil not only helps achieve a smooth consistency but also enhances the chocolate's sheen, giving your treats a professional finish.
Pay attention to the melting process; overheating the chocolate is a common mistake that can lead to a gritty texture. Melting in 30-second intervals and stirring in between ensures that the chocolate melts evenly and reduces the risk of burning. When correctly melted, the chocolate should be glossy and pourable, easily coating the Oreos without clumping. If the chocolate doesn’t reach a smooth state, consider adding a little more coconut oil to help it along.
Decorating Your Treats
Adding decorative sprinkles is not just for appearance; it also enhances the texture and adds additional flavor. Consider using colored sprinkles to match your theme—like reds and pinks for Valentine's Day—to make these treats more festive. To ensure the sprinkles adhere properly, apply them immediately after dipping while the chocolate is still wet. This timely addition guarantees they stick perfectly, creating an eye-catching contrast against the smooth chocolate surface.
If you're feeling adventurous, try different toppings such as crushed nuts, mini chocolate chips, or even drizzles of contrasting chocolate. These variations not only provide visual interest but also introduce exciting taste combinations. When experimenting with toppings, keep the balance in mind—too many toppings can overshadow the classic Oreo taste, so choose one or two to accentuate the flavors without overpowering them.
Storage and Serving Suggestions
Once your chocolate-covered Oreos are set, proper storage is crucial to maintain their freshness. Store them in an airtight container at room temperature for up to a week or refrigerate them for slightly longer shelf life. If you choose to refrigerate, be aware that the chocolate may develop a white film known as blooming, but it won't affect the taste—just a cosmetic issue. For longer storage, these treats can be frozen for up to three months. Just ensure they are wrapped tightly to prevent freezer burn, and allow them to thaw at room temperature before serving.
Serving these delightful treats is as versatile as the toppings you choose. They make an excellent gift when placed in a decorative box with a ribbon or served on a platter at parties. For an added touch, consider pairing them with fresh strawberries or a side of whipped cream for an indulgent dessert experience. The creamy chocolate and crunchy cookie create a satisfying contrast that is sure to impress whether served individually or as part of a dessert spread.
Ingredients
Gather these ingredients to start making your chocolate-covered Oreos:
Ingredients
- 24 Oreo cookies
- 1 cup of chocolate chips (semi-sweet or dark)
- 1 tablespoon of coconut oil (optional, for smoothness)
- Decorative sprinkles (optional)
Make sure to have everything ready before you start dipping!
Instructions
Follow these simple steps to create your delicious treats:
Melt the Chocolate
In a microwave-safe bowl, combine the chocolate chips and coconut oil. Microwave in 30-second intervals, stirring in between, until smooth and fully melted.
Dip the Oreos
Using a fork, dip each Oreo cookie into the melted chocolate, ensuring they are fully coated. Let the excess chocolate drip off.
Add Sprinkles
Before the chocolate sets, sprinkle your choice of decorative sprinkles on top of the cookies for a festive touch.
Cool Down
Place the dipped Oreos on a baking sheet lined with wax paper and refrigerate for about 10 minutes until the chocolate hardens.
Once cooled, enjoy these delightful treats or package them as gifts!
Pro Tips
- For the best results, make sure the Oreos are completely dry before dipping them in chocolate. Experiment with different types of chocolate or flavors to create unique combinations!
Tips for Customization
Customization is one of the most exciting aspects of making chocolate-covered Oreos. You can easily tailor your treats for different occasions by adjusting the chocolate or sprinkle colors. Consider using white chocolate dyed with gel food coloring for a fun twist, especially for themed events. This method not only adds color but can appeal to those who prefer a sweeter flavor profile. Just remember to maintain the melting instructions for best results.
If you're catering to specific dietary needs, you can swap regular Oreos with gluten-free versions or even try a homemade cookie for a tailored approach. There are many recipes available for gluten-free chocolate cookies that can mimic the texture and flavor of Oreos, allowing everyone to enjoy this delightful treat!
Troubleshooting Common Issues
If your chocolate isn't sticking to the Oreos, it may not be melted enough or may need a touch more coconut oil to reach the right consistency. Sometimes, a cool cookie can also prevent chocolate from adhering properly, so ensure your cookies are at room temperature before dipping. If you find the chocolate is clumping rather than smoothly coating, reduce the heat or add a small amount of coconut oil and stir well.
For those who might be concerned about the chocolate cracking as it cools, this can be mitigated by ensuring that the chocolate is not too hot when dipping the Oreos. The temperature difference between the hot chocolate and cold cookie can cause the chocolate to seize upon cooling. Thus, let the chocolate cool slightly before dipping, which should help in creating a smooth coating that stays intact.
Questions About Recipes
→ Can I use white chocolate instead?
Absolutely! White chocolate works perfectly and you can even tint it with food coloring for a fun touch.
→ How should I store the chocolate-covered Oreos?
Store them in an airtight container at room temperature for up to a week or in the refrigerator for longer freshness.
→ Can I freeze chocolate-covered Oreos?
Yes, you can freeze them! Just ensure they’re properly wrapped to prevent freezer burn, and they can last for up to three months.
→ What other toppings can I use?
Feel free to get creative! Crushed nuts, shredded coconut, or even drizzle different types of chocolate on top can elevate your cookies.
Valentines Treats Chocolate Covered Oreos
What You'll Need
Ingredients
- 24 Oreo cookies
- 1 cup of chocolate chips (semi-sweet or dark)
- 1 tablespoon of coconut oil (optional, for smoothness)
- Decorative sprinkles (optional)
How-To Steps
In a microwave-safe bowl, combine the chocolate chips and coconut oil. Microwave in 30-second intervals, stirring in between, until smooth and fully melted.
Using a fork, dip each Oreo cookie into the melted chocolate, ensuring they are fully coated. Let the excess chocolate drip off.
Before the chocolate sets, sprinkle your choice of decorative sprinkles on top of the cookies for a festive touch.
Place the dipped Oreos on a baking sheet lined with wax paper and refrigerate for about 10 minutes until the chocolate hardens.
Extra Tips
- For the best results, make sure the Oreos are completely dry before dipping them in chocolate. Experiment with different types of chocolate or flavors to create unique combinations!
Nutritional Breakdown (Per Serving)
- Calories: 380 kcal
- Total Fat: 26g
- Saturated Fat: 15g
- Cholesterol: 195mg
- Sodium: 85mg
- Total Carbohydrates: 32g
- Dietary Fiber: 3g
- Sugars: 24g
- Protein: 6g